



Your Step-by-Step Guide to Organizing a Successful Community Project
A single idea, born from a moment of inspiration or a shared frustration, holds the power to transform a neighborhood. It can clean a park, feed a family, or simply bring people together, weaving a stronger, more resilient community fabric. At hopecentergrangeville.org, we are a cornerstone of our community, dedicated to providing support, resources, and, most importantly, hope. Our experience comes from years of successfully launching and managing projects that make a real difference, and we’ve seen firsthand how one person’s vision can ignite collective action.
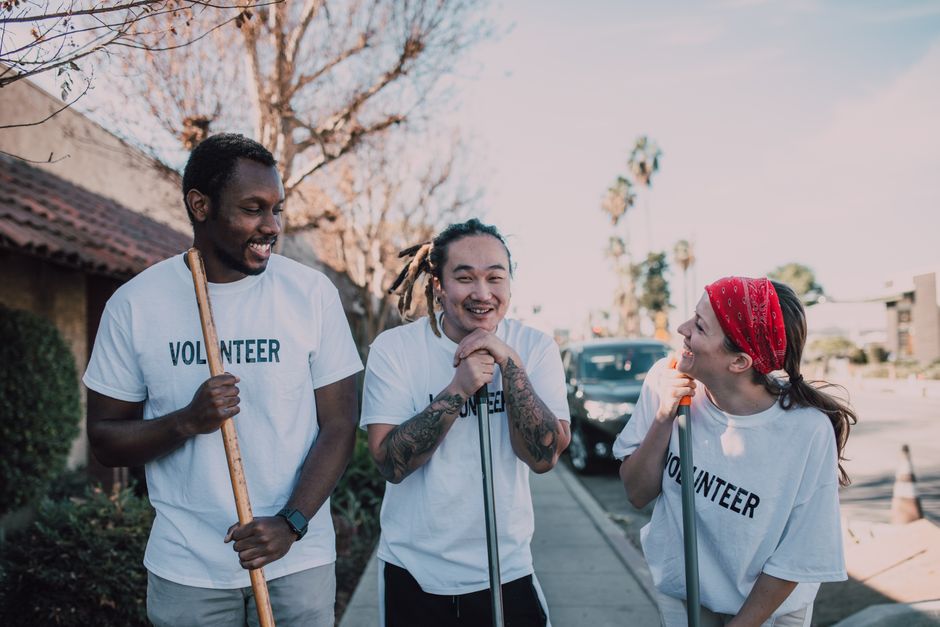
We also understand that while the desire to help is strong, the process of organizing a community project can feel daunting. The path from a brilliant idea to a successful outcome can seem overwhelming, filled with questions like, “Where do I even begin?” This guide is our way of sharing what we’ve learned. We’re breaking down the entire process into clear, manageable steps to empower you to turn your passion into a successful community project that leaves a lasting impact.
Key Takeaways
- A successful project starts with a clear mission that addresses a specific, genuine community need.
- Building a passionate, reliable team is more important than having a large one; the right people in the right roles are your greatest asset.
- Detailed planning, including a practical budget and a realistic timeline, is non-negotiable for a smooth and effective execution.
- Effective communication is the lifeblood of your project, essential for recruiting volunteers, gaining community support, and keeping everyone aligned.
- Celebrating your success and sincerely thanking all participants is crucial for building momentum and enthusiasm for future projects.
TL;DR
Organizing a successful community project involves six key phases: defining your idea and goals with precision, building a core team of dedicated individuals, creating a detailed plan with a budget and timeline, promoting your project to rally community support, executing the plan with clear communication, and following up to measure your impact and thank everyone involved.
A powerful community project starts with a single, well-defined idea that addresses a specific need.
The foundation of any impactful initiative is a clear understanding of the problem you intend to solve. Vague intentions lead to scattered efforts, but a focused mission provides direction and purpose for everyone involved.
Step 1: Brainstorm and Define Your “Why”
Before you can rally others, you must be crystal clear on your objective. Start by looking around your own community. What gaps do you see? Is there a local park that has fallen into disrepair? Do you know seniors who could use help with yard work or groceries? Is there a need for a back-to-school supply drive for local students?
Identify a genuine need that resonates with you. Once you have an idea, ask these critical questions to refine it:
- Who will this project help? Be specific. “The elderly” is broad; “Seniors living alone in the Maple Street neighborhood” is focused.
- What specific problem will it solve? “Beautify the town” is an ambition; “Remove litter and plant 50 native flowers in Central Park” is a solvable problem.
From these answers, craft a simple, powerful mission statement. This statement will be your guiding star throughout the entire process, helping you make decisions and communicate your purpose to others. For example: “Our mission is to ensure every child at Elm Street Elementary starts the school year with the supplies they need to succeed.”
Step 2: Set SMART Goals
With your mission defined, you need to determine what success looks like in concrete terms. The best way to do this is by using the SMART framework to set your goals. This method transforms a general wish into an actionable target.
- S – Specific: Your goal should be unambiguous. Instead of “Collect food,” aim to “Collect 500 non-perishable canned goods for the local food pantry.”
- M – Measurable: You must be able to track your progress and know when you’ve reached your goal. You can count to 500 cans; you can’t easily measure “a lot of food.”
- A – Achievable: Your goal should be realistic. Is collecting 500 cans a reasonable target for your community size and volunteer base? If not, adjust it. Setting an unattainable goal can demoralize your team.
- R – Relevant: Does this goal directly support your mission? Collecting canned goods is highly relevant to a mission focused on fighting local hunger.
- T – Time-bound: Every goal needs a deadline. “Collect 500 canned goods by October 31st.” This creates a sense of urgency and provides a clear endpoint for your efforts.
No community project succeeds alone; building a dedicated team is your most critical next step.
An idea is just a starting point; people are what bring it to life. A small group of passionate, reliable individuals will always outperform a large, disorganized crowd.
Step 3: Recruit Your Core Team
Your first task is to find a few key people who share your passion for the project’s mission. These are the individuals who will help with the heavy lifting of planning and organizing.
Look for passion and reliability over specific skills initially. You need people who will show up and follow through. Start with your immediate network: friends, family members, colleagues, or neighbors who have expressed interest in community issues. You don’t need an army; a core team of three to five dedicated people is often perfect for getting a project off the ground.
Step 4: Define Roles and Responsibilities
Once you have your core team, you must clearly define who is responsible for what. This simple step prevents confusion, eliminates duplicated work, and empowers each team member to take ownership of their area. Hold a kickoff meeting to align everyone on the mission and goals, then assign key roles.
| Role | Key Responsibilities |
|---|---|
| Project Leader/Coordinator | Oversees the entire project, keeps the team on track, makes final decisions, and serves as the main point of contact. |
| Communications Lead | Manages all external messaging: social media posts, flyers, press outreach, and email updates to volunteers and supporters. |
| Volunteer Coordinator | Recruits, organizes, and manages all volunteers. Creates schedules, assigns tasks on the day of the event, and is the go-to person for volunteers. |
| Logistics Lead | Handles all physical aspects of the project: securing a location, purchasing or sourcing supplies, managing equipment, and planning the event layout. |
A detailed action plan with a clear budget and timeline transforms a great idea into an achievable reality.
With your mission set and your team in place, it’s time to build the roadmap that will guide you from start to finish. This planning phase is non-negotiable for a smooth, stress-free project.
Step 5: Create a Master Plan and Timeline
The most effective way to create a timeline is to work backward from your target project date. If your park cleanup is on a Saturday, what needs to be done the day before? The week before? The month before?
List every major task and milestone, such as securing permits, ordering t-shirts, launching your social media campaign, and holding a final team meeting. Assign a deadline to each task and a specific person from your core team who is responsible for it. Using a shared calendar or a simple project management tool can help keep everyone organized and accountable. For complex projects, you might even consider new ways to rebuild your content and project pipeline for maximum efficiency.
Step 6: Develop a Simple Budget
Many community projects can be run on a shoestring budget, but you still need to account for any potential costs. Create a simple spreadsheet and list all possible expenses:
- Supplies (e.g., trash bags, gloves, paint)
- Venue or equipment rental
- Marketing materials (e.g., printing flyers)
- Food and water for volunteers
- Permit fees
Next, brainstorm potential sources of funding or donations. Can a local hardware store donate supplies? Will a neighborhood pizza place provide lunch for your volunteers? In-kind donations are just as valuable as cash. For remaining costs, consider approaching local businesses for small sponsorships or running a simple online crowdfunding campaign. Track every dollar spent to ensure you stay on budget.
Effective communication and outreach are essential for gathering support and ensuring your community knows how to get involved.
Your project cannot succeed in a vacuum. You need to spread the word to recruit volunteers, attract donations, and get the community excited about what you’re doing.
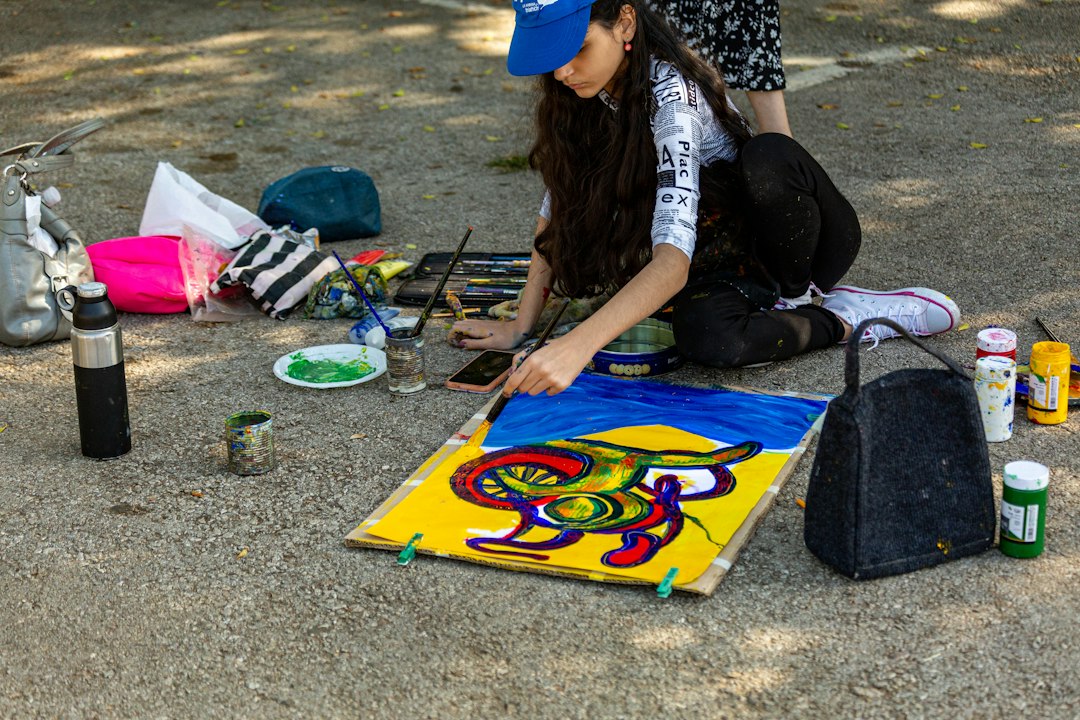
Step 7: Craft Your Message
Develop a simple, compelling story that answers the most important question in a potential supporter’s mind: “Why should I care?” Explain the problem you’re solving and the tangible impact your project will have. Focus on the positive change you’re creating.
Your message should always include a clear call to action. Don’t just tell people about your project; tell them exactly what you want them to do. Examples include:
- “Sign up for a 2-hour volunteer shift.”
- “Donate five canned goods at one of our drop-off locations.”
- “Share this post to help us spread the word.”
Step 8: Promote Your Project
You don’t need a big marketing budget to get the word out. Leverage free and low-cost tools to reach your community:
- Social Media: Create an event page on Facebook and share regular updates. Post compelling photos and stories on Instagram. Engage with local community groups and pages.
- Community Hubs: Design a simple, eye-catching flyer and post it (with permission) at local coffee shops, libraries, grocery stores, and community centers.
- Local Media: Write a short press release and send it to local newspapers, radio stations, and bloggers. They are often looking for positive, local stories to cover.
The successful execution of your project hinges on clear communication and flexible day-of management.
After weeks or months of planning, the day has finally arrived. Your ability to manage your team and adapt to unexpected challenges will determine the day’s success.
Step 9: Manage Your Volunteers
Your volunteers are your most valuable resource, and a positive experience will ensure they come back to help with future projects. The economic value of a single volunteer hour was estimated to be $31.80 in 2022, according to the Independent Sector and the University of Maryland, but their true value to your mission is immeasurable.
Start the day with a brief orientation. Thank everyone for coming, review the mission, and explain the day’s tasks. Provide clear instructions and make sure every volunteer knows who their point person is if they have questions. Keep morale high throughout the event with snacks, water, and plenty of verbal encouragement. A simple “thank you for being here” goes a long way.
Step 10: Be Prepared to Adapt
No matter how perfectly you plan, something will inevitably go differently than expected. Perhaps fewer volunteers show up than you anticipated, or it starts to rain, or you run out of a key supply.
The key is to stay calm and flexible. Huddle with your core team to quickly assess the situation and decide on a new course of action. A positive, can-do attitude is contagious. When your volunteers see you handling challenges with grace, they’ll be more willing to pitch in and find a solution together.
The work isn’t over when the project ends; proper follow-up and celebration are key to building long-term momentum.
What happens after the event is just as important as the event itself. This final phase solidifies your project’s impact and sets the stage for future success.
Step 11: Measure Your Impact
Go back to the SMART goals you set at the very beginning. Did you achieve them? Tally the final numbers: How many bags of trash did you collect? How many backpacks did you fill? How many seniors did you help?
Quantifying your success provides a powerful story to share with the community. It’s also essential to gather qualitative feedback. Send a simple survey to your volunteers and participants. Ask them what went well and what could be improved next time. This feedback is invaluable for planning your next project.
Step 12: Say Thank You and Celebrate
This is arguably the most important step of all. Gratitude is the fuel for sustained community engagement. Publicly and privately thank everyone who contributed to your success.
- Post a thank-you message on social media, tagging any community partners or business sponsors.
- Send a personalized thank-you email to every volunteer and donor.
- Share the final results of the project. Show people the tangible difference their time and contributions made.
When people feel seen and appreciated, they are far more likely to support your cause again. This final step closes the loop and builds a foundation of trust and enthusiasm for whatever you decide to do next.
Hope Center Grangeville Exemplifies How Structured Organization Leads to Lasting Impact
At hopecentergrangeville.org, this step-by-step guide isn’t just theory—it’s the exact framework we use for our own initiatives. From organizing food drives that support hundreds of local families to launching youth mentorship programs that shape future leaders, every project is built on this foundation.
Our success stems from this disciplined approach of careful planning, passionate teamwork, and a deep commitment to follow-through. We have seen firsthand how a well-organized project can do more than just solve an immediate problem; it can bring people together from all walks of life, fostering connections and strengthening the very fabric of our community. We provide this guide as a resource because we believe that everyone has the power to create positive change, and with the right tools, that power is unstoppable.
Turning Passion into Action
Organizing a successful community project is a journey from a small idea to a significant, tangible impact. It’s about transforming a quiet “I wish someone would…” into a proud “I’m so glad we did.” By breaking the process down into these twelve manageable steps, you can build the confidence and the structure needed to see your vision through to completion.
Your passion is the most powerful resource you have. Don’t be intimidated by the scale of the challenge or the fear of not knowing everything. Every great community initiative in history began with one person deciding to take that first, crucial step. Start small, build your team, and watch as your effort ripples outward to create a better community for everyone.
